I have started on the last little section of the bodywork timbers today, rather sad it is coming to an end but bloody happy to get it on the road..
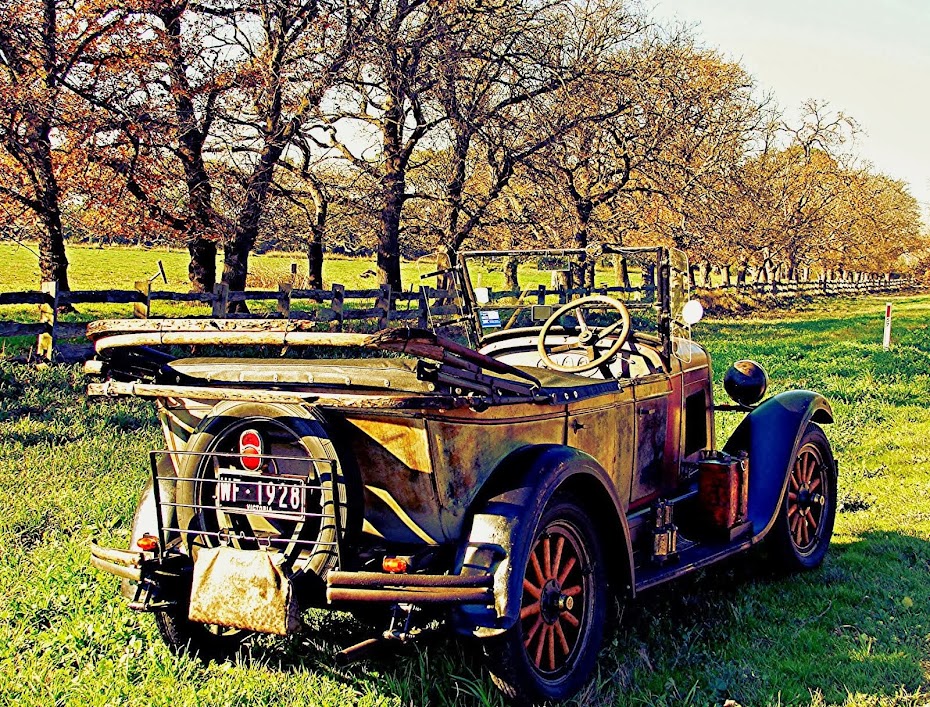
The photo below was taken 18 months ago when I first rolled Monty back into the resto shed and began scratching my head about where to start, anyway you all know the story by now, blah blah blah....... So as you can see from the this photo the last section to make is the very top timber lip on the rear of the tub that goes right around the top which is actually needed for the upholstery to be nailed down to and also from the photo it houses the clips which the side curtains attach to, yes it is covered over at the end of the day, but I still want to do a nice job and get it correct.
I will post up the end result along will photos of my amateurish woodwork skills soon.

.
UPDATE: Well that was a productive three hours on this sunny Sunday afternoon.
I found the timbers needed from my pile of leftover bodywork pieces so I laid out the thicknesser on the concrete and buzzed them up to the correct thickness by measuring off the old original wood that I had saved, this piece below I shaped and made the two corner sections out of

Next out came the jigsaw and the two sides and one wide rear piece were cut to size and shaped up using a flapper disc on the 5" angle grinder.

Then after a few hours of sanding, measuring and drilling the whole thing came together very easily and looks great, it sits very level and runs neat right around the tub.

With a quick sanding along the edges to curve them over, the job was all done... HAPPY!

So with that now done the timber work on ole Monty is finished after 12 months, basically my wood working skills are no longer required for now, I have learnt so much since tackling this part of the restoration and have very much enjoyed working with timber which I hadn't done before this and watching the whole process slowly take shape with each little step taken.
For the roadworthy we now only need to complete:
- Wiper motor wired up to dash switch.
- Resistor installed for the high/low headlights.
- Mirror bracket installed.
- Lettering/decals on the light switch gauge. (might get the brush out for that one)
- and interior upholstery
Many thanks once again for all emails, texts and messages as they have all been very much appreciated.
Hey Grant. If your feeling a bit sad about the end in sight, theres that nice 27 Chev posted on my blog last night. Maybe a second car is needed to further hone those newly aquired skills.
ReplyDeleteCheers