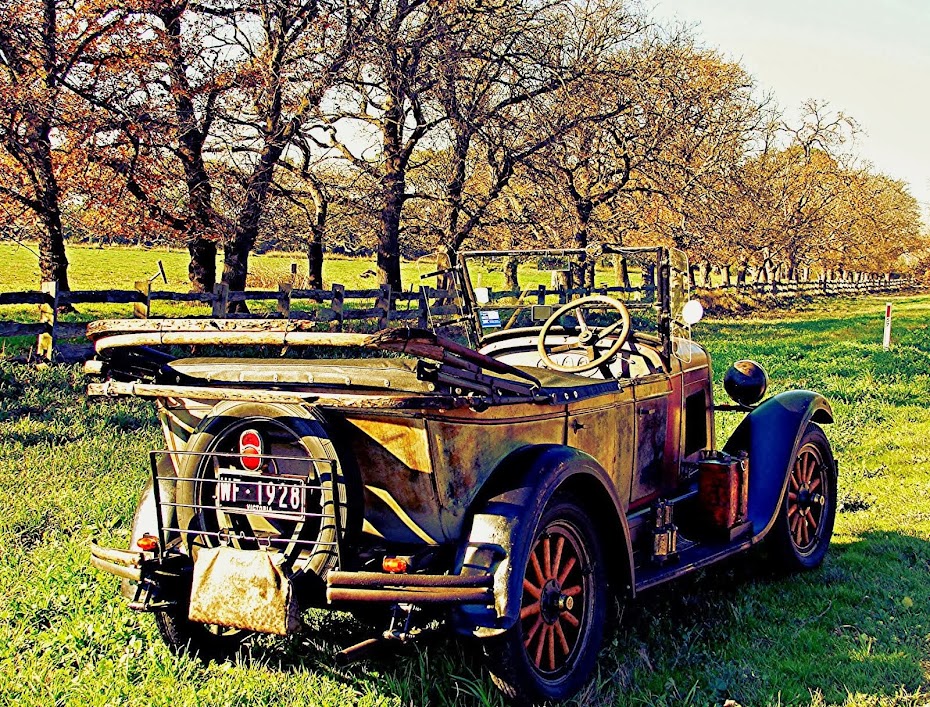
After about a six months break from any form of "Sunday Restoration Days" in the resto shed working on the Chevy with my mate Ray and this being because I have just been driving the ole banger around Gippsland most weekends since it was registered, so today we decided to install a new water pump onto the little 4 cylinder engine.
Not that the old existing one was broken or falling to bits, it's just that with the amount of driving I plan on doing in the years ahead a few little "modern" adjustments here and there make a big different to the running of the engine so I wanted to use an original 1928 water pump that has been retro fitted with modern internals, thus doing away with the old fashioned "white grease" cup and the large brass nut that always needs checking a nipping up to stop the water drips and also the constant oiling of the water pump shaft itself each time you start the car and since I have installed the small overflow tank to the radiator, the whole cooling system for the car will now be completely sealed and running at about 3lbs of pressure which also means that a anti corrosive inhibitor can now be used.
The revamped pump with modern internal bearings is the top one

No more hot water overflowing from the radiator onto the roadway each time when you stop, which means no more topping up the radiator all the bloody time either before and during a trip.
I decided to strip the Chevy of the hood, fan belt, water pump and radiator which took me only 20 minutes on Saturday, I had it cleaned down, ready and waiting for a 9am start today.


Like clockwork Ray arrived and was walking down the driveway right on 9am and by 10.30am we had it all back together and running so quietly and smoothly with no leaks and the little brass overflow tank which is neatly tucked away doing a great job of keeping the hot water sitting nice and level... Great job!
Here are a few photos of the install:
First the high pressure washer was put the good use to clean out the engine block


Next the matching surfaces of the water pump and engine were cleaned of old glue and gasket material and then buffed to a mirror finish.

New sealant and gaskets were then re-fitted and the water pump installed and bolted up tight.

Everything else that was removed yesterday now went back on, the radiator was filled with water and a good job was completed quickly - PERFECT!!
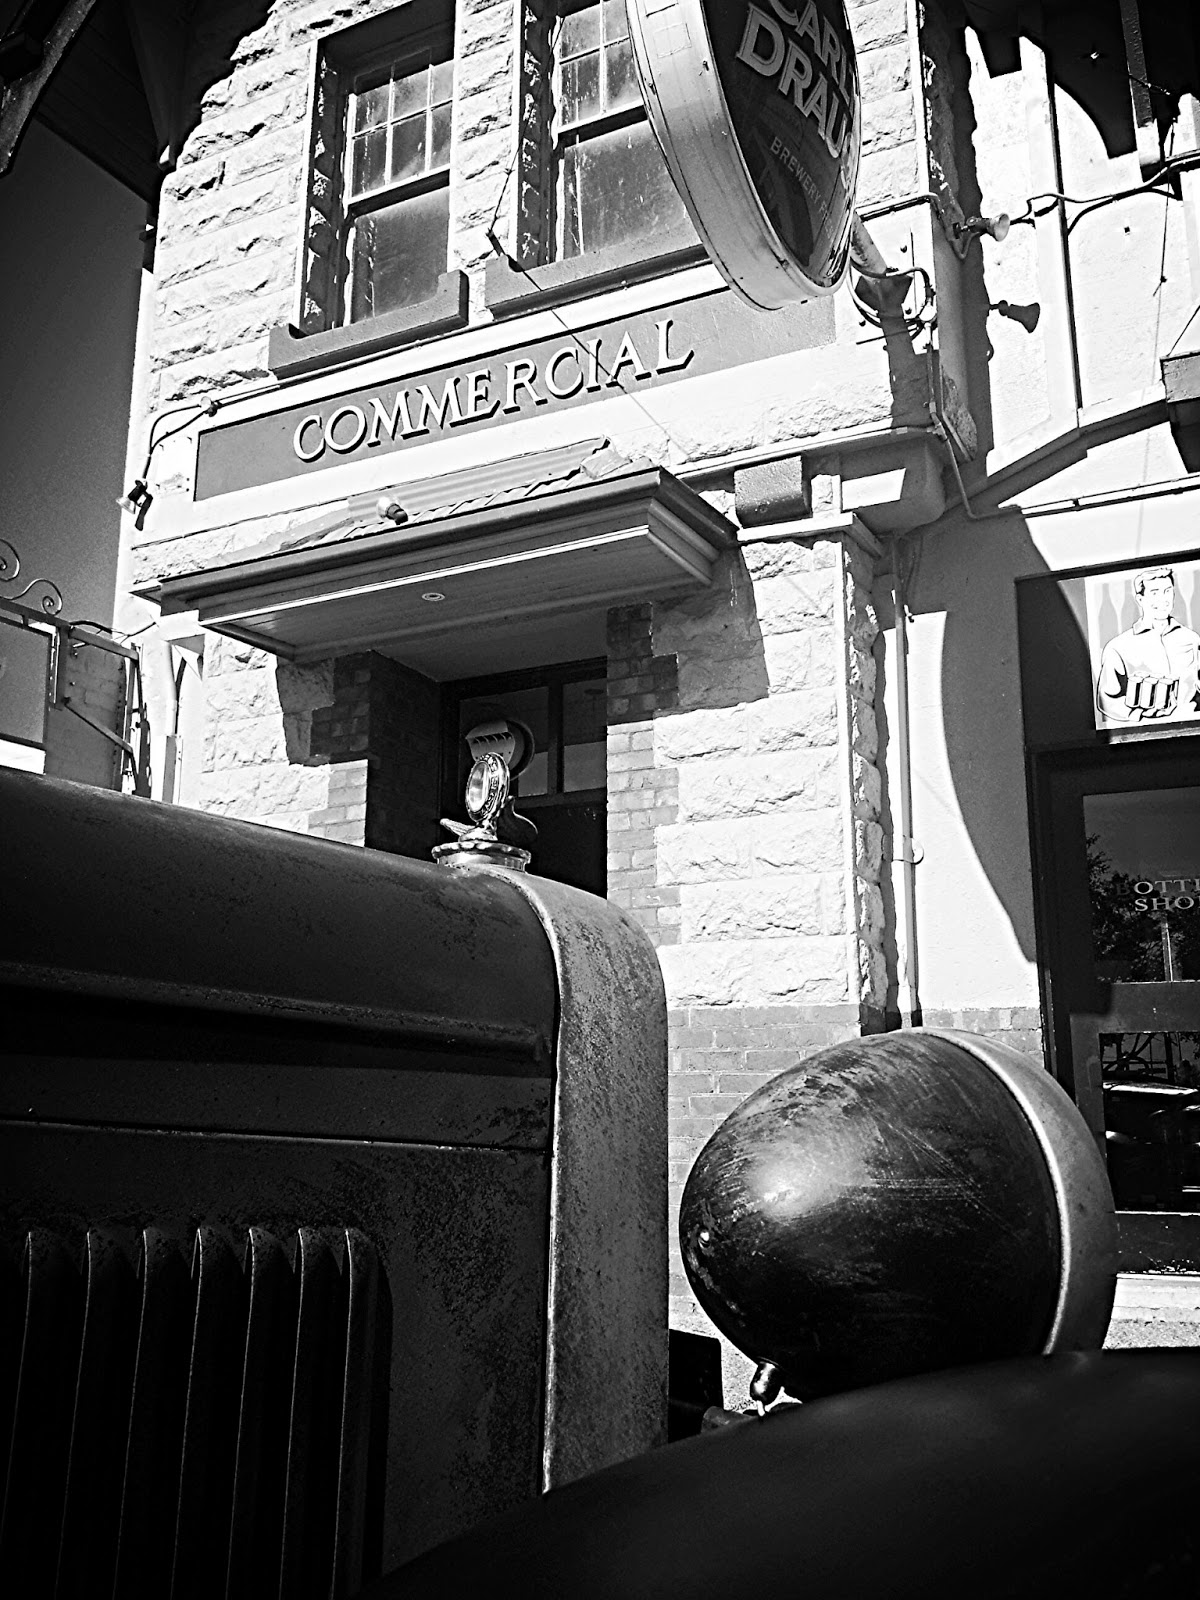
Without a word spoken, next the mandatory washing of the hands took place, the removing of our greasy overalls and the opening of the driveway gate was all completed in one swift motion and we were off down the street for a test drive and once again the testing destination was to the township of Yarragon for lunch where we scored a park outside the pub...

Thanks and Cheers Grant Fowler
Great job! Monty is lookin' good!
ReplyDeletewhat a storey that was.
ReplyDeleteI enjoyed every moment of it.
note: if you carry on making so many "improvements" your car will eventually end up on the concours de elegance.... 20013 for new models.............
can you tell me how to modify my old 1928 chevy water pump to work like you did. where did you get the parts and what will I need ?.
ReplyDeletemy name is bill and I would be glad to hear how you modified the pump to work. my e-mail address is billh@ckpower.com
hi! i also need info about converting my old water pump to a new style pump. please advise. thanks.
DeleteI am also looking for a set of wooden spoke wheels for my 1928 chevy touring car. it currently has steel wheels on it and I would like to change them over to wooden. billh@ckpower.com contact me if you have a set to sell or know where I can get a set. beautiful car...
ReplyDelete